Probably my favorite thing about Star Wars are the model space ships, I love how they don't look like the old school type space ships but somehow they look exactly what a space ship should look like. Searching for reference I came across a couple model builders.
The Model shop with Lasse Henning shows the work of Lasse Hennings and how he builds studio scale model ships. His work was the first I came across and my main inspiration, his work is amazing. More of his work can also be seen here. Lasse Henning
Modelers, Miniatures and Magic highlights the work of several model makers. I've spent a lot of time going over the images on these sites and am using them as reference for my build. More here.
I also followed this incredible build on the Resin Illuminati site.
And found this site to be very helpful too Renderosity
Many of the modelers will build an exact replica of the Millennium Falcon right down to every detail. To the point of buying a model Porsch just for the transmission. I have no interest in going to all that trouble. I want to build my own one of a kind model. Like Lasse, I want to experience what it was like for the Star Wars modelers to build a space ship for the first time using what ever is available to me.
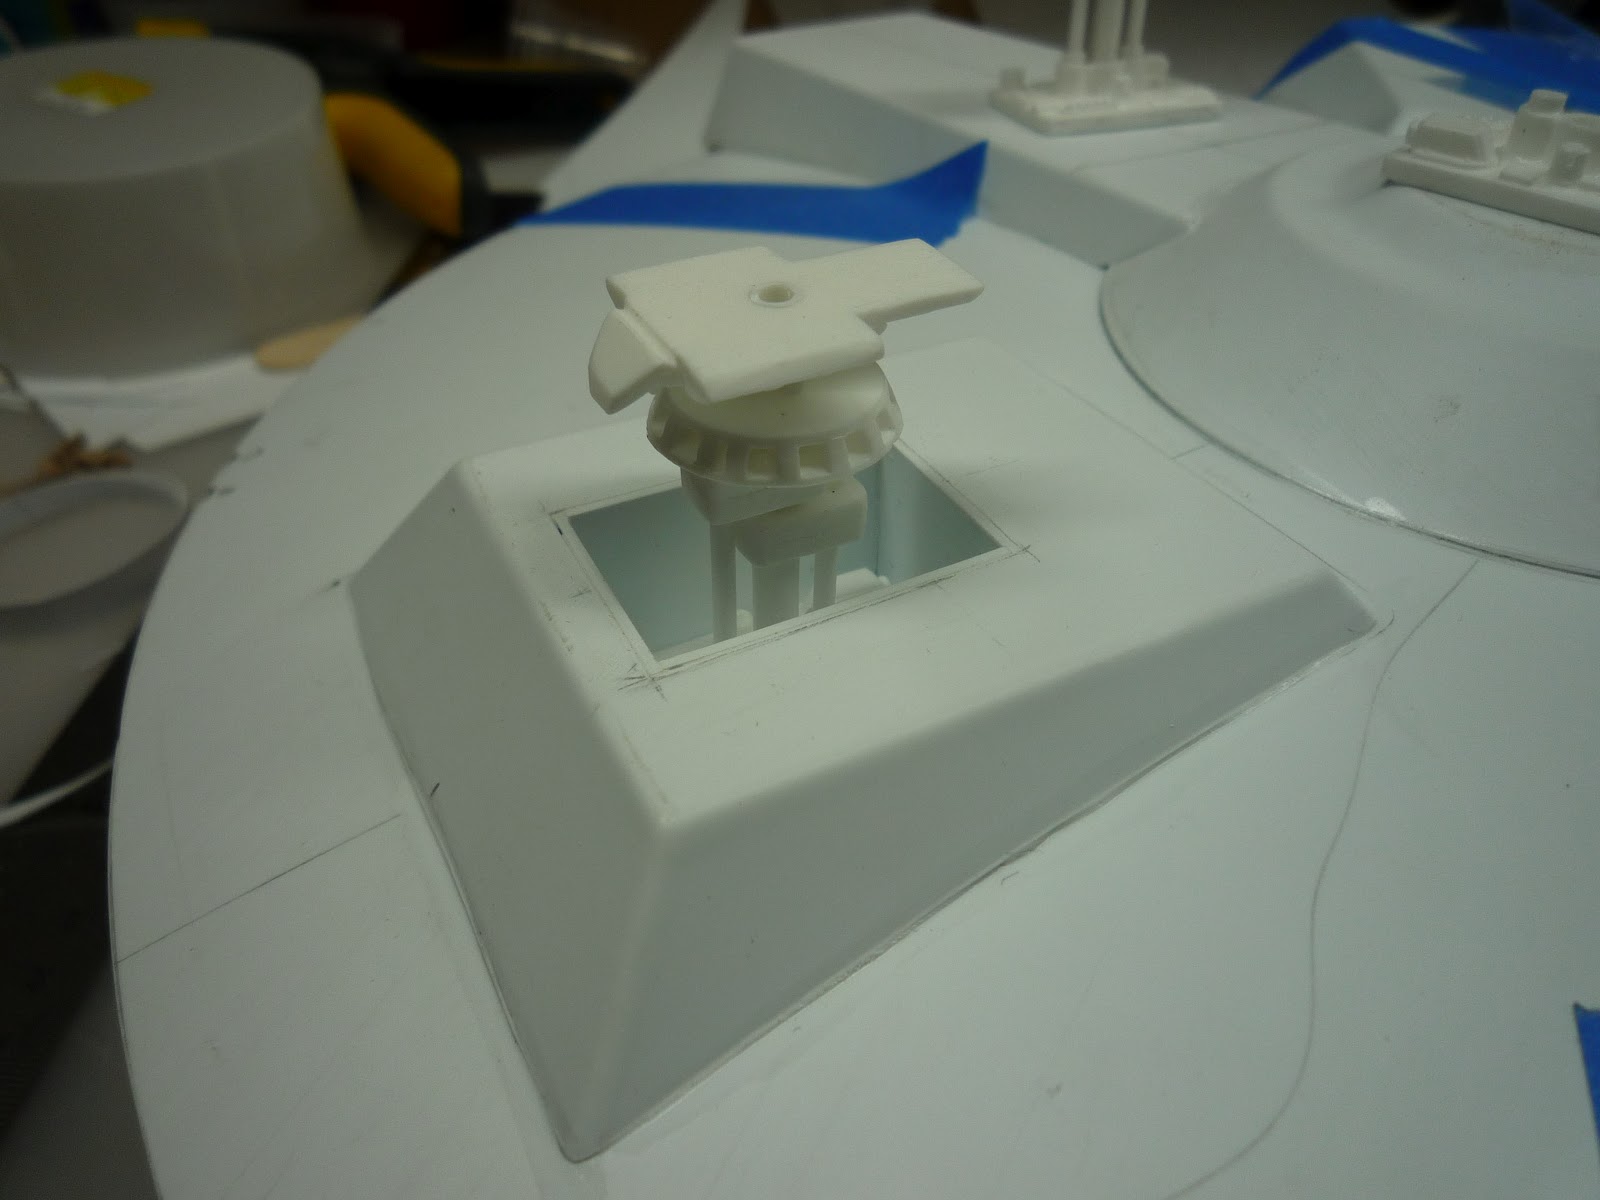
Now I am not, nor will I likely ever build a Millennium Falcon, because if I do, it would have to look just like the Falcon with every greeblie (a greeblie or greeble is the name given to all the little mechanical bits added to the model. No one knows what their true function is as it's all made up, so the word greeble is used, i prefer greeble, pronounced gree-bull.)
For Christmas last year I got the Haynes Manual for the Millennium Falcon and in it was a drawing for a YT-1000. The Falcon is a YT-1300, so the YT-1000 is an earlier model. And since I found no one has posted any images of one, I thought it would be a good model to build. It's similar enough to the Falcon, but different. However the drawings only included a top and side view.

After thinking about how I would start, I decided I would vacuum form most of the shapes. This turned out to be an ideal way to go for me. The forms were cut from MDF (medium density fiberboard) which is commonly used in cabinet making and available at any lumber yard. It's light weight and very easy to cut.

The dome was formed on a woodworking lathe.


When I was happy with the location and that all was good, I glued them in place.


And the disc part is upside down, not sure how I missed that! Oh well the new ones will be correct.