The method for molding and casting small parts is to build your mold so the object is cast from the bottom up. A common problem with casting from molds is trapped air. If you built a mold with only one hole in the top, the casting material could block the escape of any air, leaving the bottom half of you mold empty. You would then only have half a cast.
This diagram should explain the idea of casting from the bottom up:

This is what the finished mold would look like. Your casting material would be poured into the funnel, it would flow to the bottom of the filler tube then start to level out as it rises through the void left by the original part. Air would be pushed up and out through the air vent as the casting material rises.


You'll see what these are for later. You may have noticed my air vents don't go to the top, well, they should. I cut them too short so I'll have cut them longer with an x-acto after the 2 mold halves are done.
It is VERY IMPORTANT to use a plasticine that is compatible with the rubber you are using. Some plasticines have chemicals that can inhibit the curing of the rubber. So always test your materials before making your mold.
OOMOO 25, which I found to be too soft. It has a shore hardness of 25 and I would have preferred something a bit harder.
What's Shore Hardness?

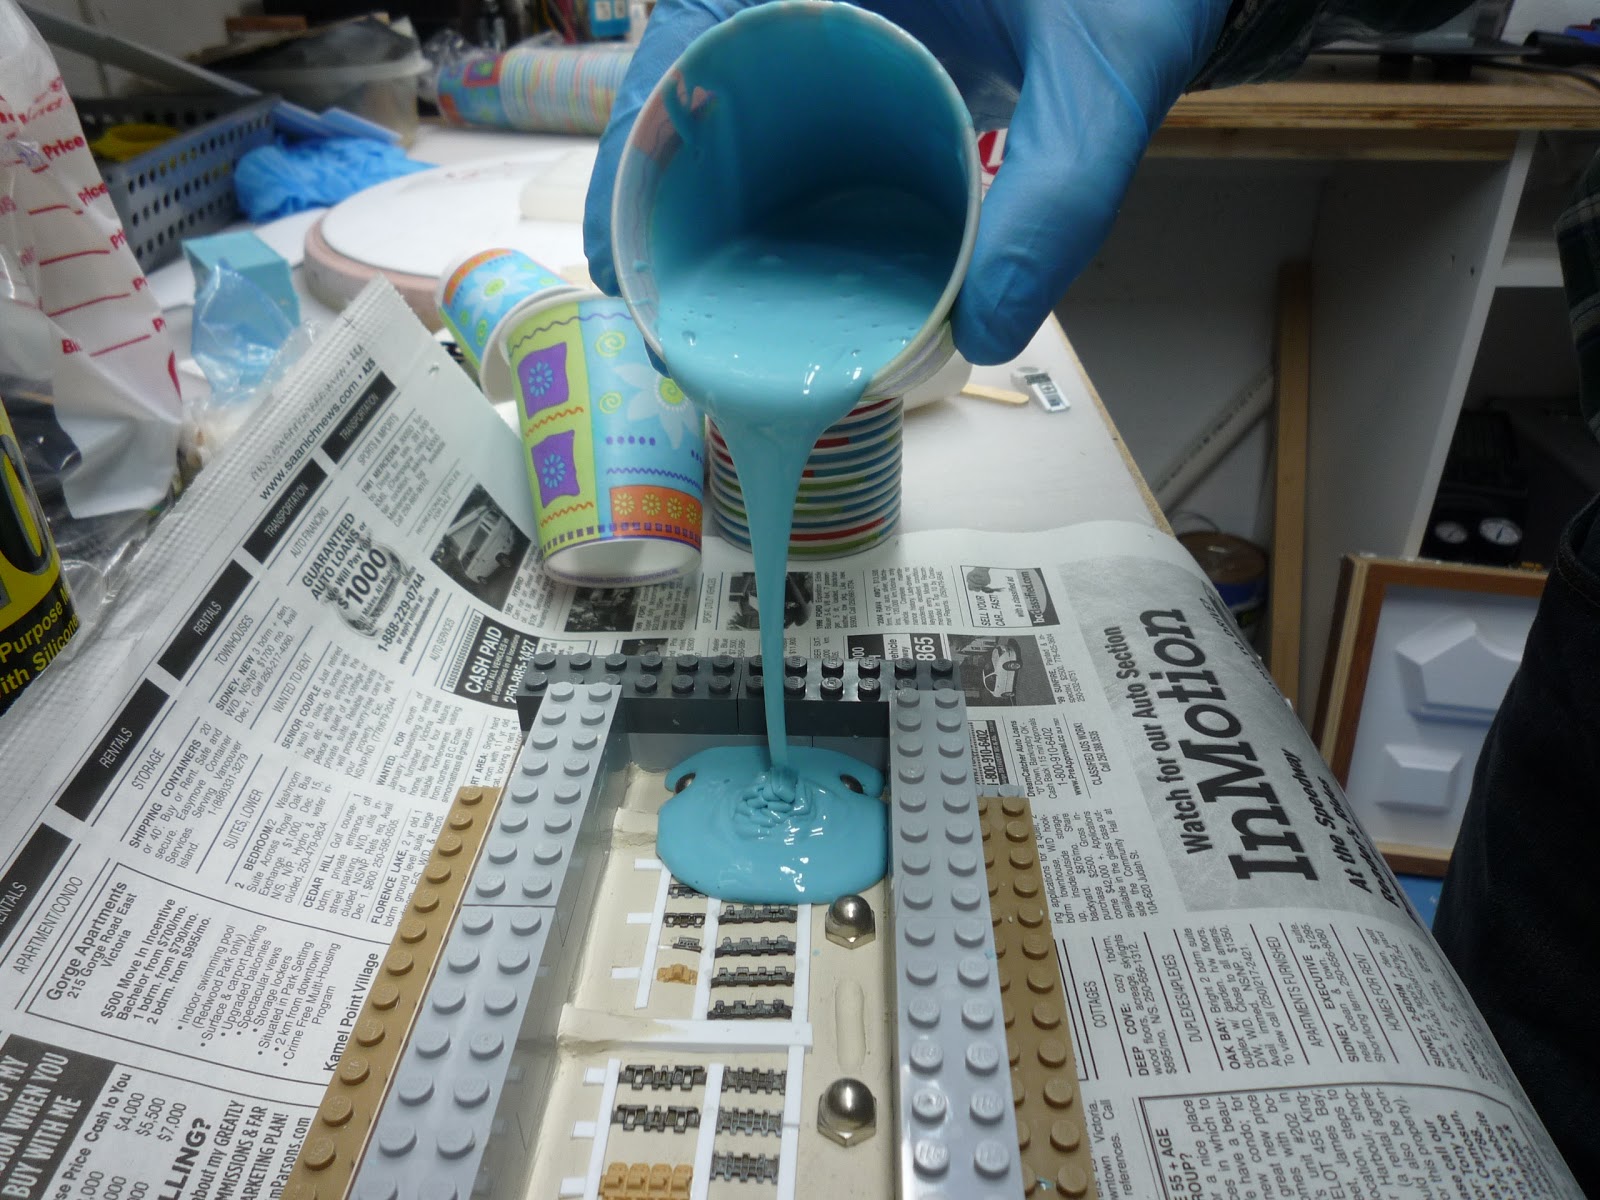
A few light coats of mold release and we're ready to pour the second half of the mold.


I poured some Smooth cast 300 into the mold until I could see it rise up out of the vent holes. The mold was then placed in the pressure tank at 60 pounds pressure for an hour. The Smooth Cast 300 has a very low viscocity (80 cps) allowing it to flow easily into small spaces.
What's Viscocity?

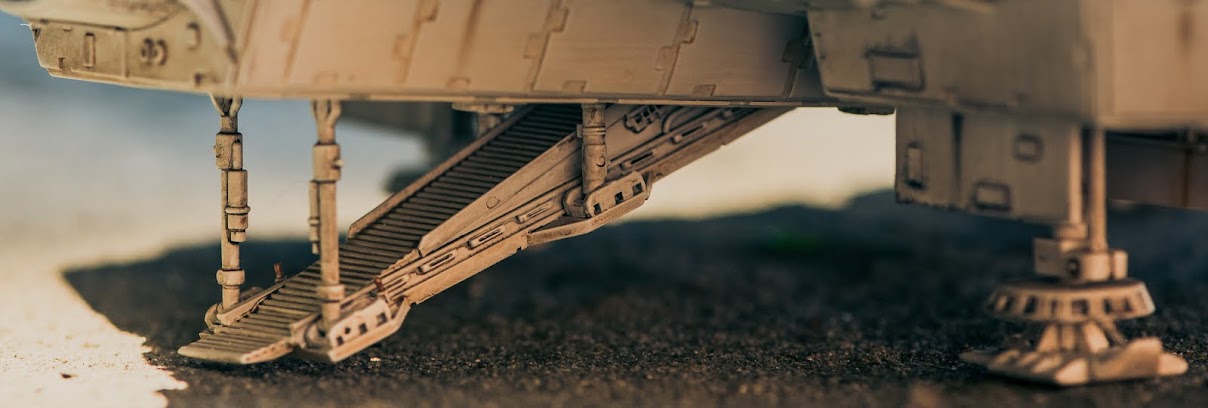
After a wee bit of cleaning up, the cast parts (in white) are displayed next to their original parts.


What might I do differently next time?
- I would use a stiffer rubber. A stiffer rubber would not deform as easily as a soft rubber would.
- I would add small dowels or rods of styrene to the bottoms of the parts I intend to cast rather than glue them along a styrene strip like I did for this set. This would make it easier and neater to cut the cast part free from the sprue.
- I found getting my set of parts to lay flat on the bed of plasticine tricky. I kept having voids under the parts. I intend to buy a noodle maker which will help me roll nice flat sheets of plasticine. I may also try laying each part on the bed of plasticine before I connect them all together.
- I might try to re-use an old sprue from a model plane or tank and attach my parts to that instead of making my own.
- Use round styrene instead of square for my channels. I could bend them so the casting material flows better.
 |
| A noodle maker |