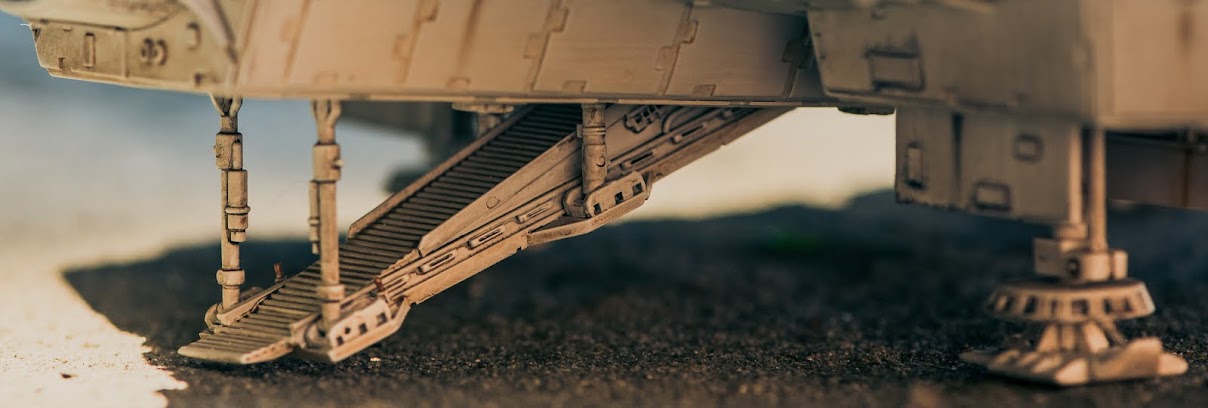
I really enjoyed this movie and even though the lander is not the most attractive craft, I thought I would pay homage to this movie by replicating it. There are obvious difficulties with this model, beginning with all those panels. I did a rough count and came to just over 100, and not one of them the same. There will be some panels that are mirrors of another, but mostly all different. And all those angles, what the heck am I getting into.
I hope you will forgive me if I throw in the towel a few months from now, but in the mean time I'm good to go.
I managed to find a set of Papercraft plans for this model, without them I would not have even bothered to start this. The plans are of the Endurance, but the Lander and Ranger are included. I built the paper lander to get a better sense of what I was facing and as a visual reference. I did find a few things that were not quite right so I'll fix those as I go.

One detail of the craft are these honeycomb textured panels.

A friend suggested something bee keepers use called Honeycomb Foundation. Its a panel of honeycomb that allows bees to build their structures on. I bought a panel and thought I had my solution. I thought I could drill a small hole in each cell and vacuum form styrene over it and it would be perfect. But each cell is 5 mm wide, and once I started counting cells in screen captures and doing math and ratios etc. I realized my finished model would be about 80cm long or about 31 inches. Much to big for my shelf, but perfect for a studio scale model for anyone that wants to do that.
So I set my sights on another path, 3D printing my own panels. I picked a size that I wanted my model to be, 35 cm or about 14 inches. This meant that each cell needed to be about 2.5mm. I spent several evenings on Tinkercad building cells into panels.

I needed the panels to interlock perfectly with each other and that's the part that took some time to get right.
I have access to a Makerbot 2, but when I tried to print my panels the program choked on the slicing stage. I solved that by making the panels smaller, about 20mmx28mm. But the prints were not detailed enough for my liking. I opted to send my file off to Shapeways and had them printed and the results are great. I made a quick rubber mold to see what a cast panel would look like. The original print is the frosted one on the right, the cast (in tinted smooth-cast 300) on the left.

I then made a new two part mold and several casts, then I made a mold of 6 of those and was able to cast several panels at a time.


I knew I would need larger panels, and fitting smaller pieces together was getting tedious. So I glued four panels together and made a mold of them.

And the first panel is done.

I did manage to successfully print window frames that I will use in my model.

I'm currently waiting for the delivery of this part, the docking ring. Again it took me several tries to get this right.


I'll make a mold and cast a pair of these, then add some extra details.
Well that's my update for now, wish me luck. I'll post again when I have much more to show.

